Roof Leak Repair Before and After Explained
A brown ceiling stain is rarely the start of a roof problem. It is usually the point at which rainwater has already travelled through the roof covering, felt, timbers or insulation and found a way into the room below. Roof leak repair before and after work can look very different from the inside of a property, but a proper repair is about more than covering a visible gap. It means finding the entry point, dealing with any damage caused along the way and leaving the roof weatherproof and the site tidy.
For homeowners, landlords and small businesses, the difference between a quick patch and a reliable repair often comes down to inspection. Water does not always enter directly above the damp mark. It can run along rafters, behind fascia boards or beneath tiles before it appears indoors.
What a Roof Leak Looks Like Before Repair
Before work begins, the obvious signs may be a drip, a dark patch on plaster, peeling paint or damp insulation in the loft. Outside, the cause may be less obvious: a cracked tile, lifted flashing, failed pointing around a chimney, a split felt lining, blocked guttering or damage where two roof sections meet.
Storms and strong winds can dislodge tiles or ridge caps, but age-related wear is just as common. Mortar breaks down, lead flashing can split or lift, and old flat roof coverings may crack around joints or outlets. On a flat roof, standing water after rainfall is worth checking, especially if it remains for more than a short period.
The first job is to assess the roof safely. That means checking the affected area, surrounding tiles or slates, valleys, flashings, gutters and roofline rather than assuming the nearest visible defect is the only issue. A leak around a chimney, for example, may involve damaged leadwork, loose mortar, broken tiles or more than one of these at once.
It also helps to check inside the loft where it is safe to do so. Wet timbers, a musty smell, damp insulation and water marks on the underside of the roof covering can give useful clues. Avoid walking on plasterboard ceilings or handling wet electrical fittings. If water is close to lighting, sockets or a consumer unit, isolate power only if it is safe and arrange urgent professional help.
Roof Leak Repair Before and After: What Should Change?
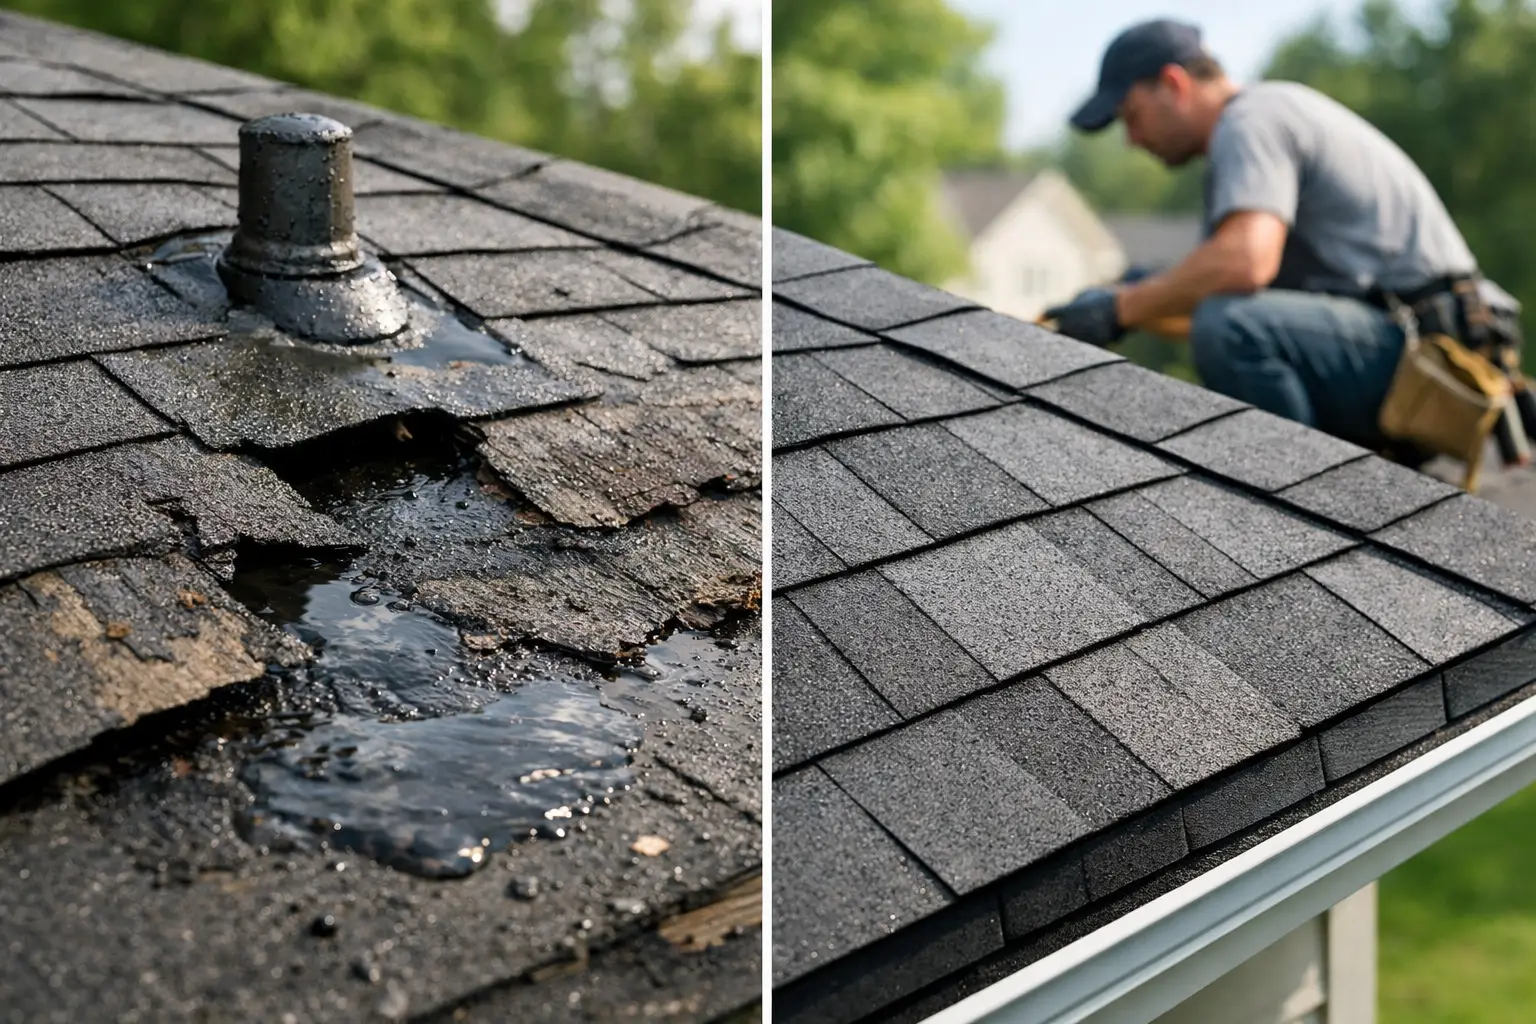
A completed repair should deliver more than a dry patch on the ceiling after the next shower. The repaired section should be properly secured, sealed where required and matched to the rest of the roof as closely as practical. Tiles or slates should sit correctly, flashing should direct water away from vulnerable joints, and gutters should be clear enough to carry rainwater away from the building.
Inside, the area needs time to dry before cosmetic repairs are carried out. This is where people can be caught out. Repainting a stain too soon may hide the evidence temporarily, but trapped moisture can lead to bubbling paint, mould and a returning mark. Depending on the amount of water involved, drying can take days or longer. Ventilation and, where appropriate, a dehumidifier can help.
If the leak has soaked insulation, it may need replacing. Wet insulation loses effectiveness and can hold moisture against timbers. Where roof timbers have been damp for a prolonged period, they should be checked for decay rather than simply covered over.
The visible before-and-after result should therefore include a sound roof repair outside and a dry, stable finish inside. The unseen result matters just as much: the source has been traced, affected materials have been assessed and water has a clear route off the roof.
The Repair Depends on the Cause
There is no single repair for every leaking roof. Replacing one slipped tile can be a straightforward job if the battens and underfelt beneath are in good condition. A leak caused by deteriorated chimney flashing needs a different approach, often involving removal of failed material and correctly fitting or renewing the leadwork.
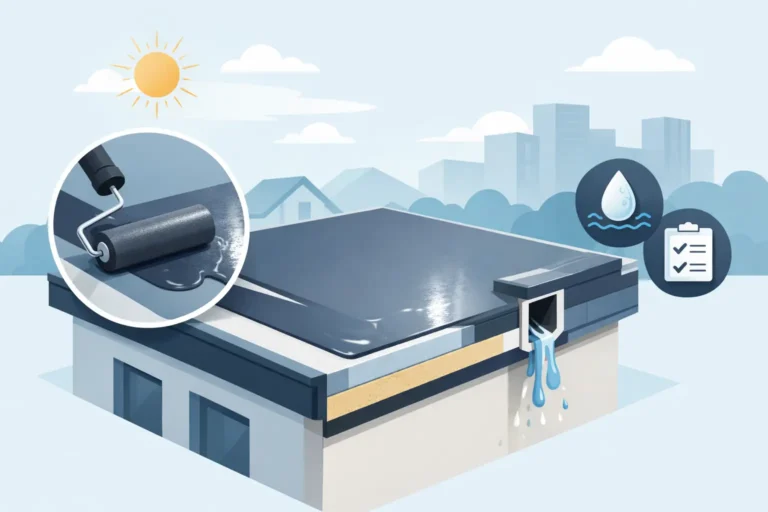
Flat roofs need particular care around seams, edges, rooflights and drainage points. A small split in felt or a failed joint may be repairable, while widespread cracking, ponding or a soft deck beneath the covering can point towards a larger renewal. The cheapest option is not always the best value if the surrounding roof material is near the end of its serviceable life.
Guttering is another common factor. A blocked or overflowing gutter can send water back towards fascia boards, brickwork and roof edges. Clearing it may stop the immediate overflow, but loose brackets, damaged joints or an incorrect fall should also be corrected. Otherwise, the same issue can return with the next heavy downpour.
For older properties, it is sensible to consider the condition of adjoining areas while access is in place. If several tiles are cracked, ridge mortar is loose and the gutters are full of debris, dealing with each issue separately can cost more in repeat call-outs. A clear assessment allows the property owner to decide whether a targeted repair or planned maintenance is the sensible route.
What Proper Repair Work Should Include
A reliable contractor should explain what has been found in plain language and set out the recommended work before starting, except where immediate action is needed to make an emergency safe. Temporary protection, such as sheeting over an exposed area, can be the right first step during severe weather. It should not be presented as a permanent repair unless it genuinely is one.
The work itself should address the cause, not just the symptom. That may mean replacing damaged roof materials, renewing failed flashing, repairing mortar, sealing an appropriate joint, clearing drainage routes or replacing rotten roofline timber. Good workmanship also includes securing materials correctly and checking that the repair integrates with the existing roof.
Site clean-up matters. Broken tiles, old felt, moss, mortar and other waste should be removed properly rather than left in a garden, driveway or shared accessway. For landlords and commercial occupiers, this is especially important where tenants, visitors or staff use the property. AJW Specialists Property Maintenance provides trade-led exterior repairs with licensed waste handling, so repair debris can be dealt with responsibly as part of the job.
Photos can be useful where the repair is difficult to view from ground level. They give the owner a record of the issue and the completed work, which can help with maintenance planning or discussions with insurers where relevant.
Avoiding a Repeat Leak
A repaired roof still needs occasional attention. Most leaks become more expensive when small warning signs are ignored through another winter. After periods of high wind or heavy rain, look from ground level for slipped tiles, loose ridge pieces, overflowing gutters and debris in valleys. Do not climb onto the roof yourself, particularly when surfaces are wet or steep.
Keep gutters and downpipes clear, especially near trees. Trim back branches that rub against roof coverings or drop heavy leaf fall into gutters. Check sealant and flashing around extensions, rooflights and chimneys as part of routine property maintenance, but remember that sealant alone is not a cure for loose materials or failed roof construction.
If a stain returns after repair, report it promptly. It may be a separate issue, delayed moisture working its way through the structure, or an indication that further investigation is needed. Early action is usually cheaper and causes less disruption than waiting for a ceiling to fail or timbers to deteriorate.
A roof leak does not need guesswork or a rushed cosmetic fix. Get the source checked, make the property safe, allow damp areas to dry properly and keep a record of the work completed. That is the kind of before-and-after result that protects the building long after the visible stain has gone.